

Meticulously assess and repair the headliner after collision repair to achieve full restoration. Prepare the surface by cleaning, filling defects, and sanding for optimal adhesion of a new headliner. Ensure proper alignment with the roofline for structural integrity, aesthetic appeal, and long-lasting results in headliner repair collision services.
After a collision, your vehicle’s headliner might require repair. This step-by-step guide will help you maintain your headliner’s integrity and appearance. Start by assessing the damage—check for tears, dislodged panels, or structural weaknesses. Next, prepare the surface: clean, sand, and prime it for new adhesive. Ensure a snug fit during installation and finish with precise cutting for a seamless look. Regular maintenance can prevent future issues, ensuring your headliner remains in top condition after collision repair.
- Assess Headliner Damage After Collision Repair
- Prepare Surface For Effective Headliner Installation
- Ensure Proper Fitting And Finishing Touches
Assess Headliner Damage After Collision Repair

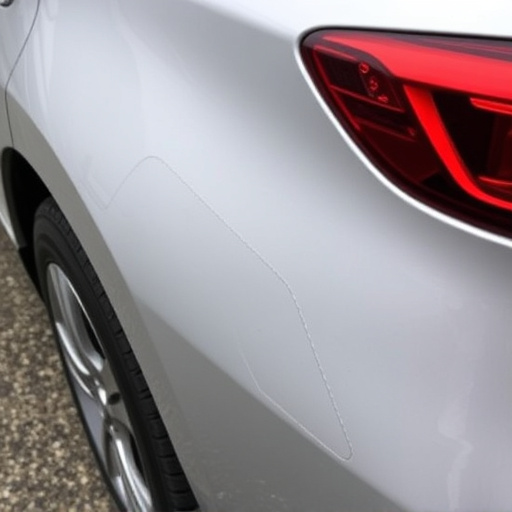
After collision repair, assessing the headliner is a crucial step to ensure complete restoration. Upon completion of auto body repairs, carefully inspect the headliner for any signs of damage or discrepancies. It’s common for headliners to sustain dents, tears, or discoloration during a collision, so look for these indicators across the entire surface.
If you notice any issues, comparing before-and-after photos can help identify specific areas requiring attention. Proper car body restoration starts with identifying even subtle damage, as it ensures a seamless finish when combined with other auto glass repair and headliner repair collision services.
Prepare Surface For Effective Headliner Installation

Before installing a new headliner after collision repair, it’s crucial to prepare the surface properly. This involves meticulous cleaning and decontamination to ensure no debris or contaminants remain that could affect adhesion. Start by thoroughly vacuuming the area to remove any loose particles, then use a degreaser to clean the surface, eliminating grease, dirt, and grime. For optimal results, let the cleaner dry completely before proceeding.
Once the surface is clean, inspect it for any remaining damage from the collision, such as holes or gouges. Fill in these defects using suitable body fillers, allowing them to dry and sand the area smoothly. This smooth finish ensures a secure bond between the new headliner and the vehicle’s structure, guaranteeing longevity and an aesthetically pleasing result after collision repair.
Ensure Proper Fitting And Finishing Touches

After the structural integrity of your vehicle has been restored following collision repair, paying meticulous attention to the headliner is crucial. Ensure proper fitting and finishing touches by aligning the headliner precisely with the car’s roofline. Any gaps or misalignments can compromise not only the aesthetics but also the comfort and safety of the interior space.
Consider the headliner as an integral part of your vehicle paint repair process, just like fixing a fender bender. It requires the same level of care and precision. By achieving a seamless finish, you prevent dust and debris from accumulating behind the headliner, which can lead to unsightly marks or even further damage over time. This meticulous approach ensures that your auto body repairs are not only visible but also long-lasting.
Maintaining your vehicle’s headliner after collision repair is vital for both aesthetics and functionality. By carefully assessing damage, preparing the surface properly, and ensuring a secure fit, you can extend the lifespan of your restored interior. Regular inspection and prompt attention to any issues will help keep your car looking its best, enhancing the overall post-collision repair experience. Remember, a well-maintained headliner is key to preserving the beauty and value of your vehicle in the long run.